MCP - connect an AI assistant
The Developer Console has a built-in MCP server. Point your coding assistant at it and it can look up your apps, read analytics, manage products, upload builds, and read these docs, all from your editor or terminal.
You sign in with your normal Jest account. There are no API keys to create or copy.
This feature is in preview. Tools may change while we work on it.
Connect
-
In the Developer Console, open MCP under Tools in the left sidebar.
-
Add the endpoint to your assistant as a remote MCP server:
https://jest.com/mcp- Claude Code
- Claude app
- Codex
- Cursor
- ChatGPT
Run this in your terminal:
claude mcp add --transport http jest https://jest.com/mcpOpen Settings, then Connectors. Select Add custom connector and paste the URL above. Enable it in a chat and sign in with your Jest account.
On Team and Enterprise plans, only a workspace admin can add custom connectors, under Admin settings, then Connectors. One connector serves the whole workspace. It grants nothing by itself: each person signs in with their own Jest account and keeps their own roles and access level.
Run this in your terminal:
codex mcp add jest --url https://jest.com/mcpThe CLI, IDE extension, and desktop app share this configuration.
Add this to
~/.cursor/mcp.json, or use Cursor Settings, then MCP:{"mcpServers": {"jest": { "url": "https://jest.com/mcp" }}}Turn on developer mode under Settings, then Connectors. Create a new connector and paste the URL above. Business and Enterprise workspaces may need an admin to enable custom connectors.
Any other client works too: add a remote MCP server with the same URL.
-
The first time the assistant uses a tool, your browser opens the Jest sign-in page. Sign in and allow access.
That's it. The connection stays active. Access tokens expire after an hour and renew on their own.
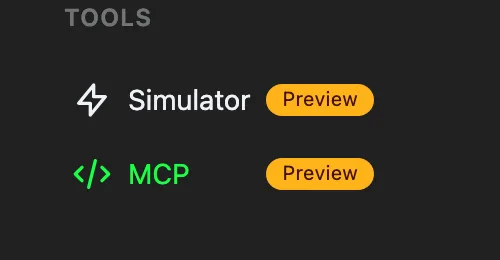
MCP lives under Tools in the sidebar
Sign in to the Developer Console at least once with the account you use in your assistant. If you skip this, the assistant keeps asking you to authenticate.
Choose what assistants can do
The MCP page has an access level setting. It applies to every assistant connected to your account and takes effect immediately.
- Disabled: assistants cannot use your account.
- Read-only (default): assistants can view your teams, apps, products, plans, analytics, and finances.
- Read & write: assistants can also create and update apps, products, subscription plans, builds, and images.
With Read & write selected, you can also turn on Allow uploads. This lets assistants upload builds and images from your machine.
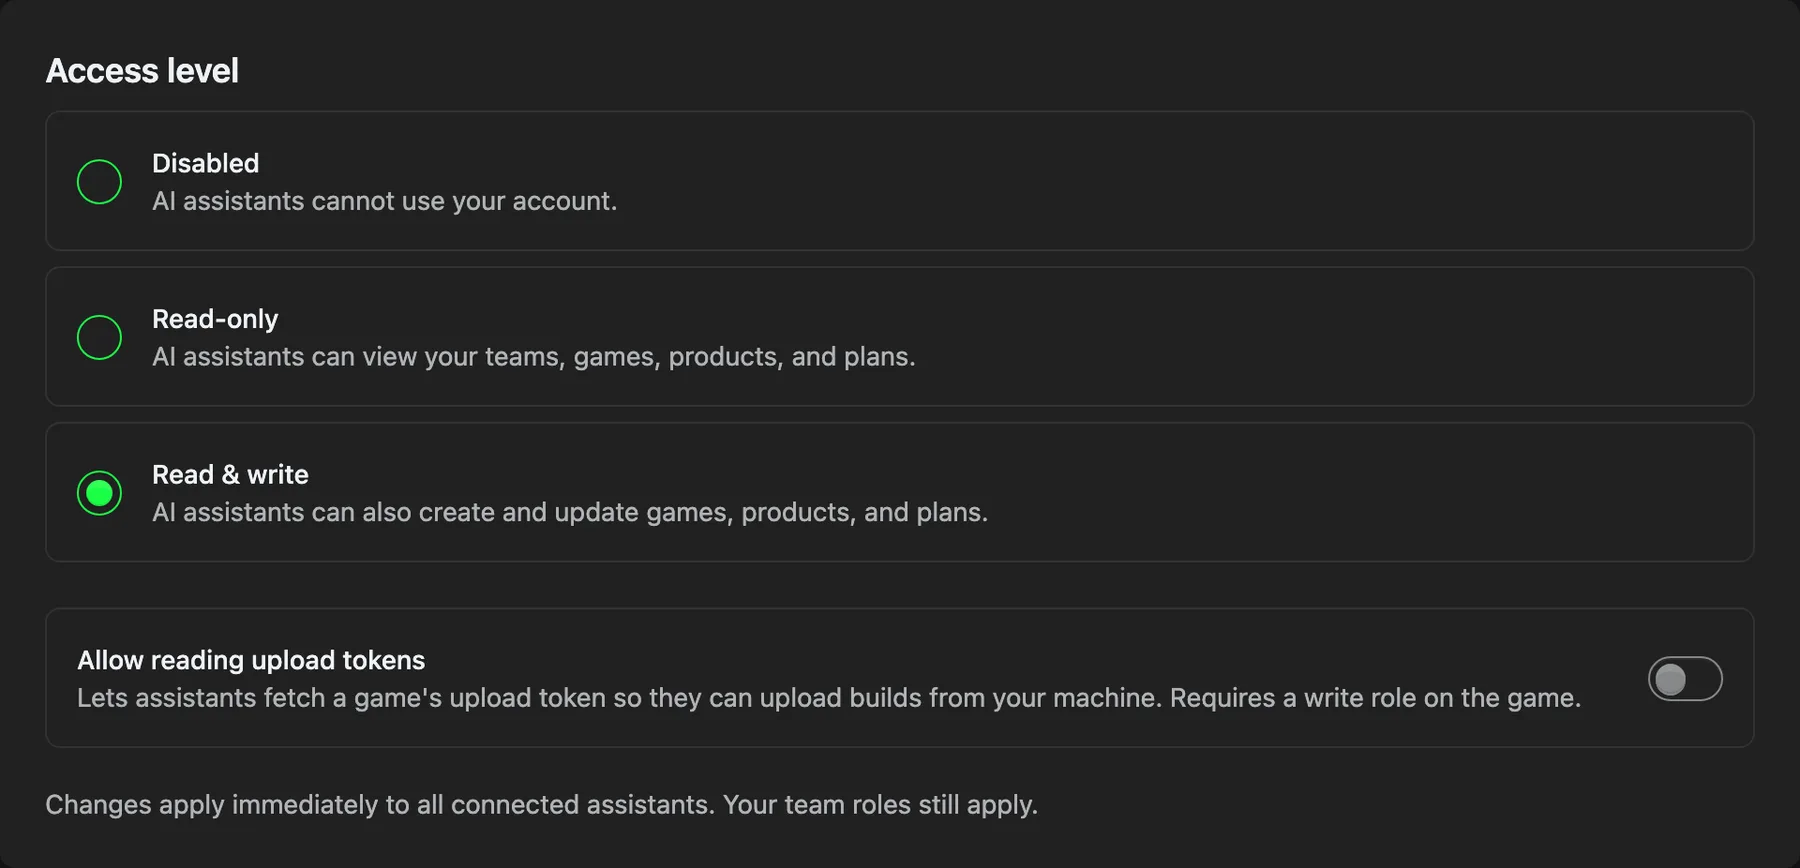
Access level and upload settings
Your team roles still apply on top of this. An assistant can only see and change what your account can see and change in the console. If you are a viewer on a team, the assistant is a viewer there too.
What your assistant can do
The Available tools table on the MCP page lists exactly the tools your assistant gets with your current roles and access level. Read tools are always available (unless access is disabled). Write tools appear once you pick Read & write.
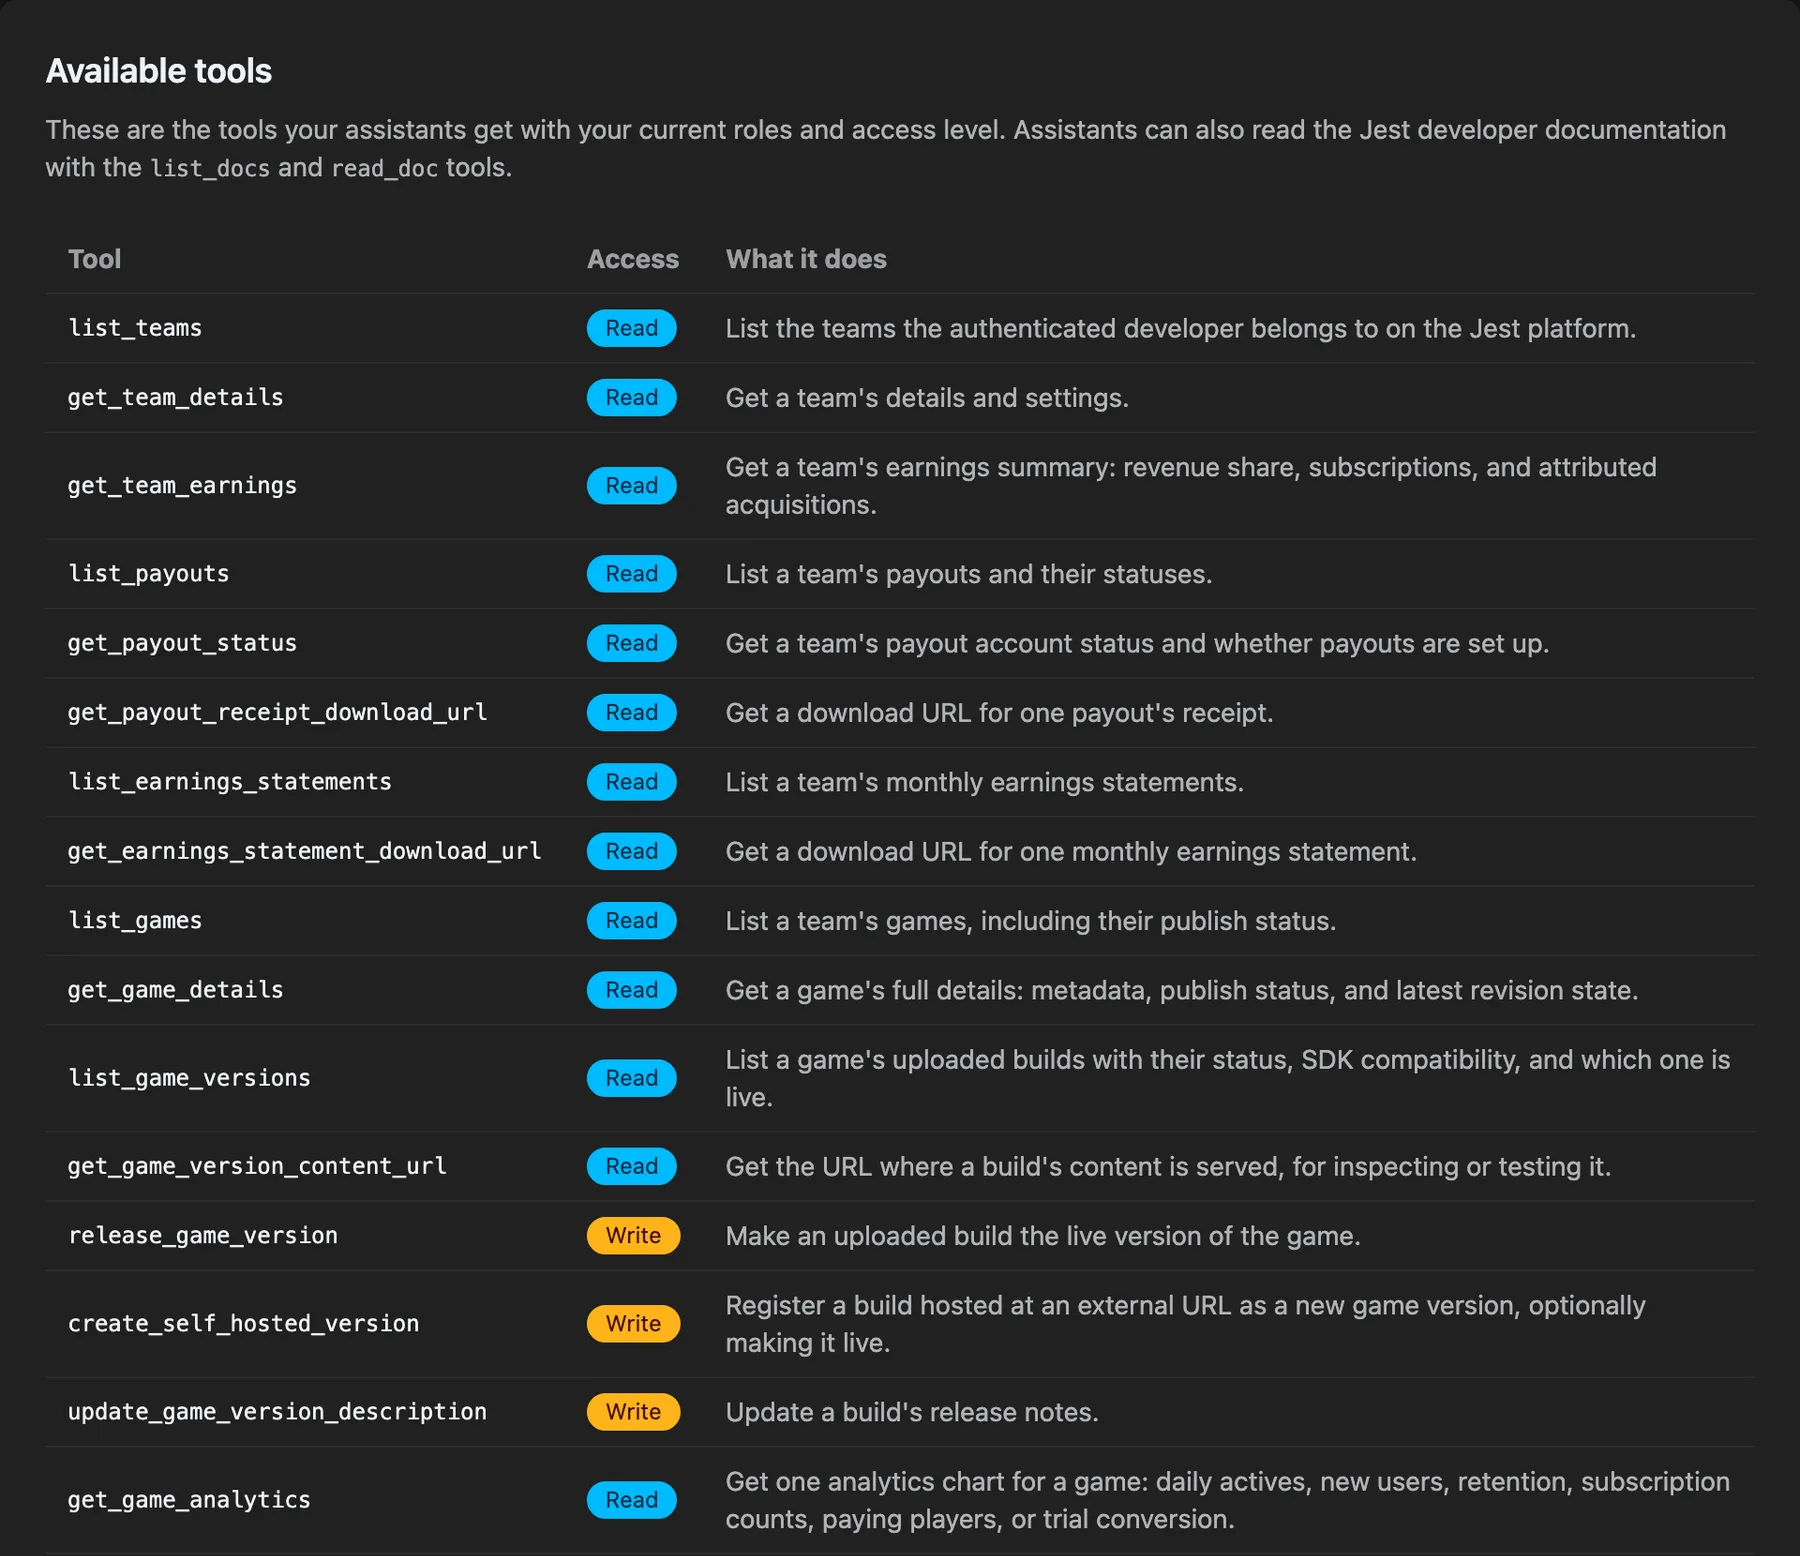
Part of the tools list. Each tool is marked Read or Write.
Roughly, the tools cover:
- Teams and finances: teams, earnings, payouts, statements.
- Apps: list, details, create, update, publish status.
- Builds: list versions, make a build live, register a self-hosted build, upload a build.
- Analytics and users: daily actives, retention, the SDK error log, user lookup, transactions, subscriptions.
- User feedback: the bug reports and suggestions users wrote about your app in chat, and setting an item's status. See User feedback.
- Catalog: products and subscription plans.
- Images: the image library, uploads, and setting an app's logo and hero image.
- Docs: the assistant can read this documentation with the
list_docsandread_doctools, so you can ask it questions about the platform while you work.
Some things you can ask for:
- "Show me last week's daily actives for my app."
- "What are users reporting as broken in my app this week?"
- "Create a $4.99 product called 500 Gems."
- "Upload build.zip as version 1.2.0 and make it live."
- "Set this PNG as the app's logo."
- "How do I send a notification with an image?"
Uploading builds and images
MCP cannot carry files, so uploads work in two steps. When you ask the assistant to upload a build or an image, it calls a tool that returns a one-hour upload credential and a ready-to-run curl command. The assistant runs that command on your machine, then registers the result.
For builds, the assistant can also make the new version live. For images, it registers the uploaded file in the image library and can set it as the app's logo or hero image.
Uploads use the same endpoints as the upload token in the console. The credential the assistant gets is tied to your account and expires after an hour, and it stops working as soon as you change your access level, turn off uploads, or lose your write role on the app.
Stopping access
- Disconnect the server in your assistant.
- Set the access level to Disabled on the MCP page. This blocks every connected assistant at once.
- Removing your role on a team removes the assistant's access to that team immediately.
Troubleshooting
The assistant keeps asking me to authenticate. Sign in to the Developer Console once with the same account, then try again.
A tool I expect is missing. Check your access level and your role on the team. Write tools need Read & write. Upload tools need Read & write plus Allow uploads. New tools also show up only after you reconnect the server in your assistant.
Uploading an image fails with a crop error. Showcase images need to be large enough to crop to 4:5, 3:2, and 1:1. Use an image that is at least 1350 pixels tall.